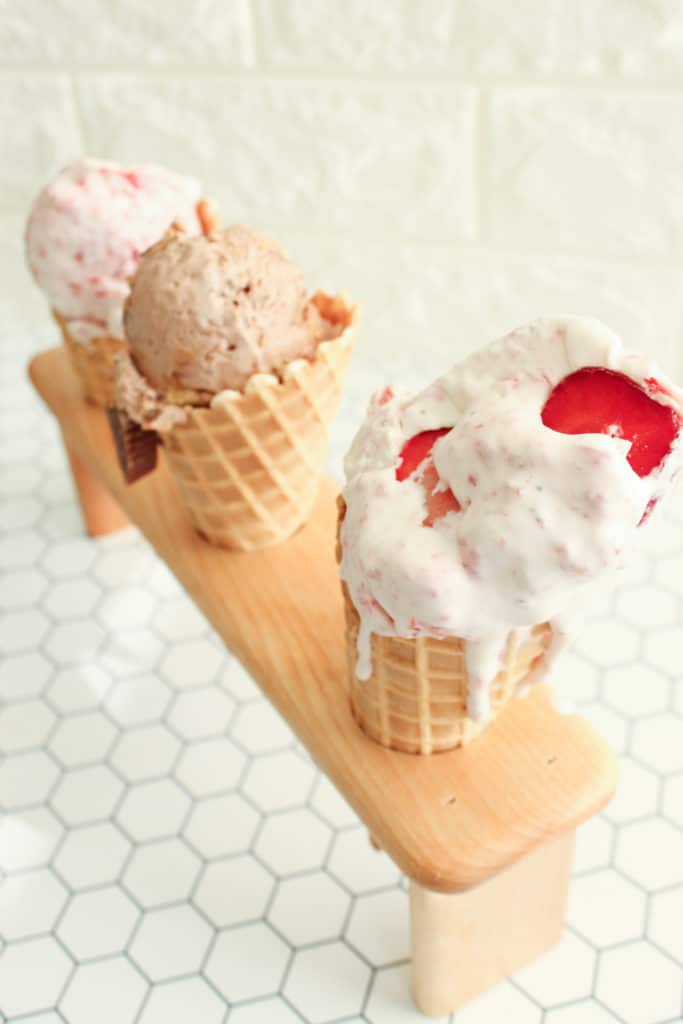
 Turn your home into an ice cream shop with a few kitchen staples!
We wanted to check out for ourselves how easy the DIY or “no-churn” recipes that clog up our Pinterest feed really are. We heard of these magical 3 ingredient recipes that allowed you to customize your flavor to your liking and have the frozen delicacy on-hand anytime with no ice cream machine needed. Sounded too good to be true, but surprisingly the taste and convenience lived up to the hype.
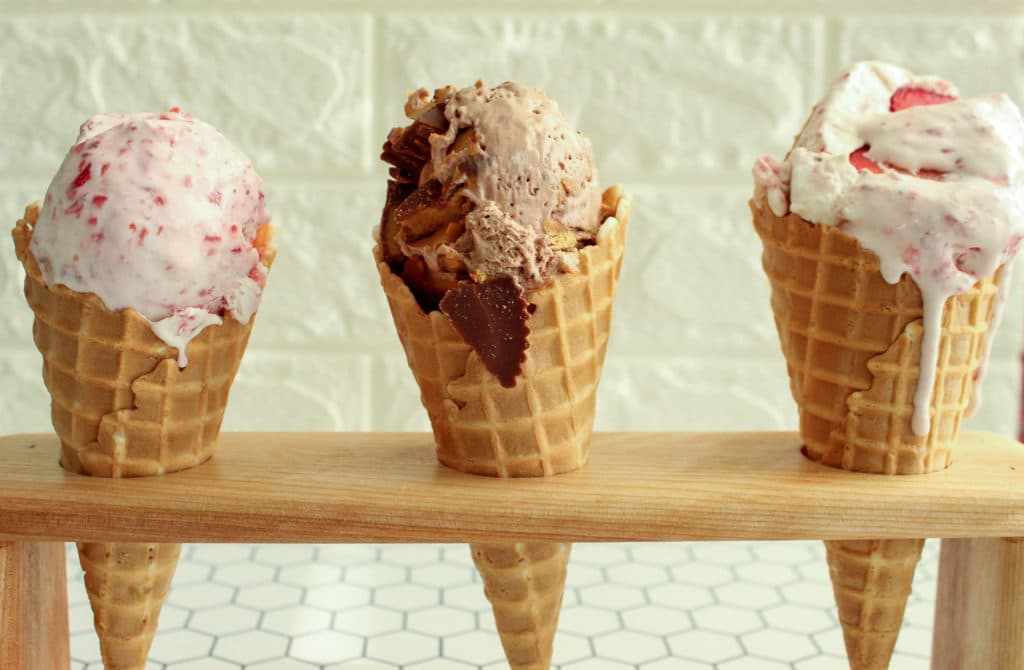
Our taste testers did prefer the mouthfeel of the decadent chocolate peanut butter cup ice cream to the strawberry ice cream, but all variations won our testers over on flavor. The fruit mix-ins give the “ice cream” more of a grainy, sorbet feel rather than a rich, creamy ice cream feel. No matter what you are in the mood for, there is a homemade ice cream flavor for you.
Making a batch was also much quicker than we expected. Depending on the flavor, from prep to the freezer, you can be done in 10 minutes or less.
Tools needed:
- Stand or hand mixer
- Ice cream tub (you can use a loaf pan for those Instagram-worthy shots, but for a longer shelf-life for your frozen treat, we recommend these resealable tubs.
No-churn Ice Cream Base:
- Similar to this Martha Stewart no-churn ice cream base, we used:
- 2 cups heavy cream (very cold)
- 1 can (14 oz) sweetened condensed milk
- 2 teaspoons of vanilla extract
Mix-ins:
- Fruits
- Candies (gummy bears, toffee, caramel)
- Chocolate (chips, peanut butter cups, chocolate covered nuts)
- Sprinkles
- Pretzels
- Cookies
- Flavorings
- Syrups
- Nut butters
- Nuts
Let your imagination run wild. The thing we loved best about the DIY recipe was that we could add the mix-ins to our taste to have the perfect balance of ice-cold creaminess and sweet/savory taste.
Step 1 – Whip heavy cream, sweetened condensed milk, and vanilla to hard-peak consistency.
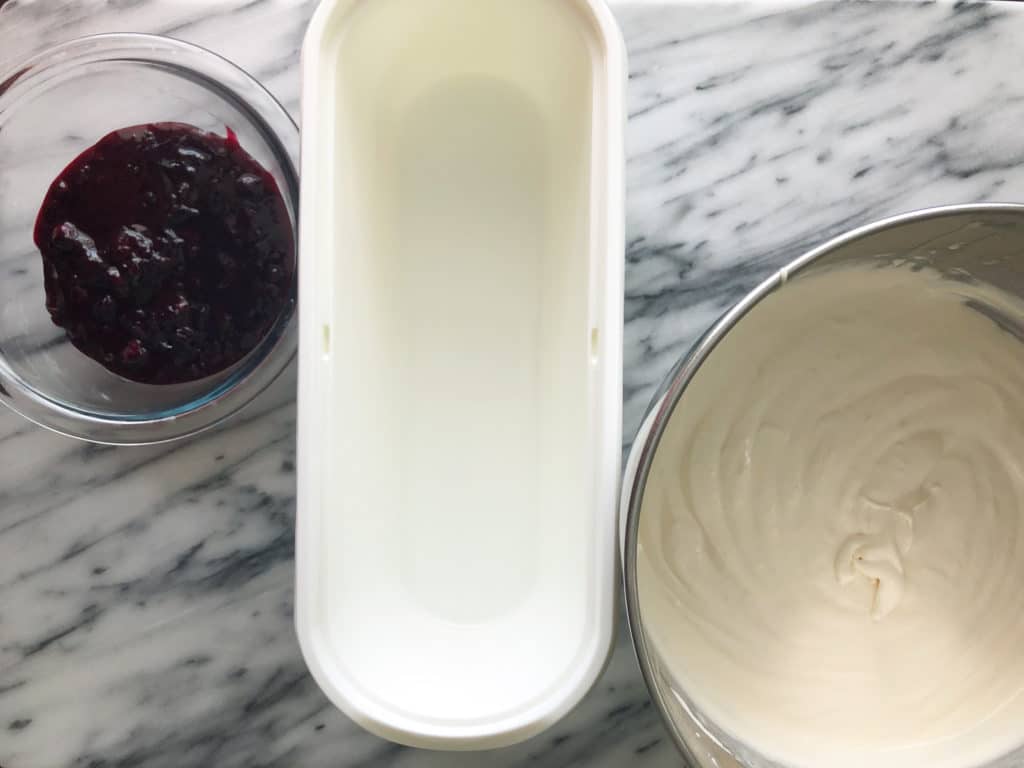
Step 2 – Spread layer of base on bottom of pan or tub.
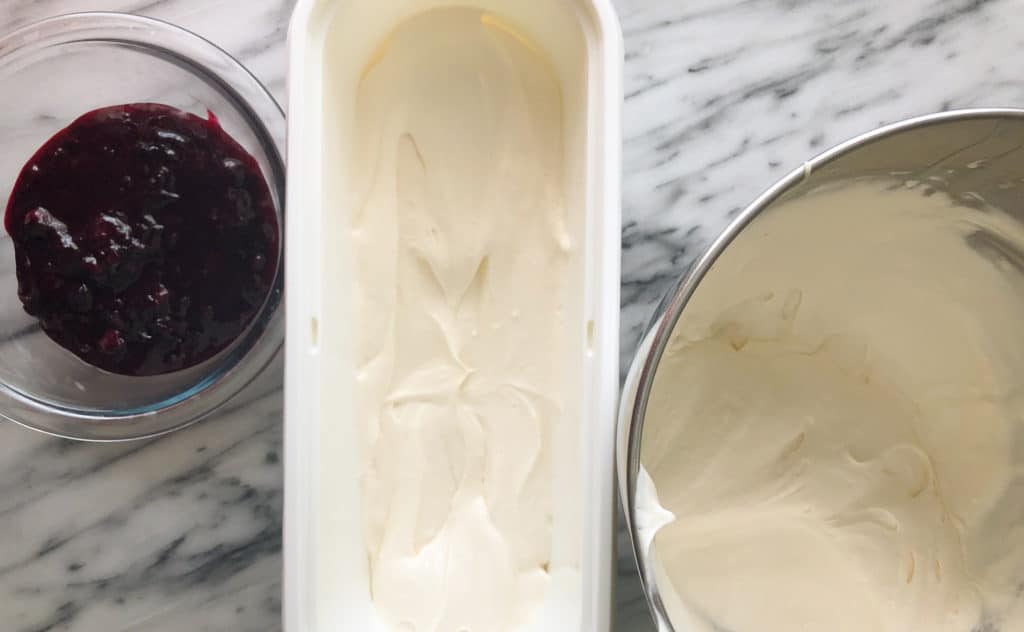
Step 3 – Add a layer of mix-ins (we used a blueberry compote for our mix-in with this batch).
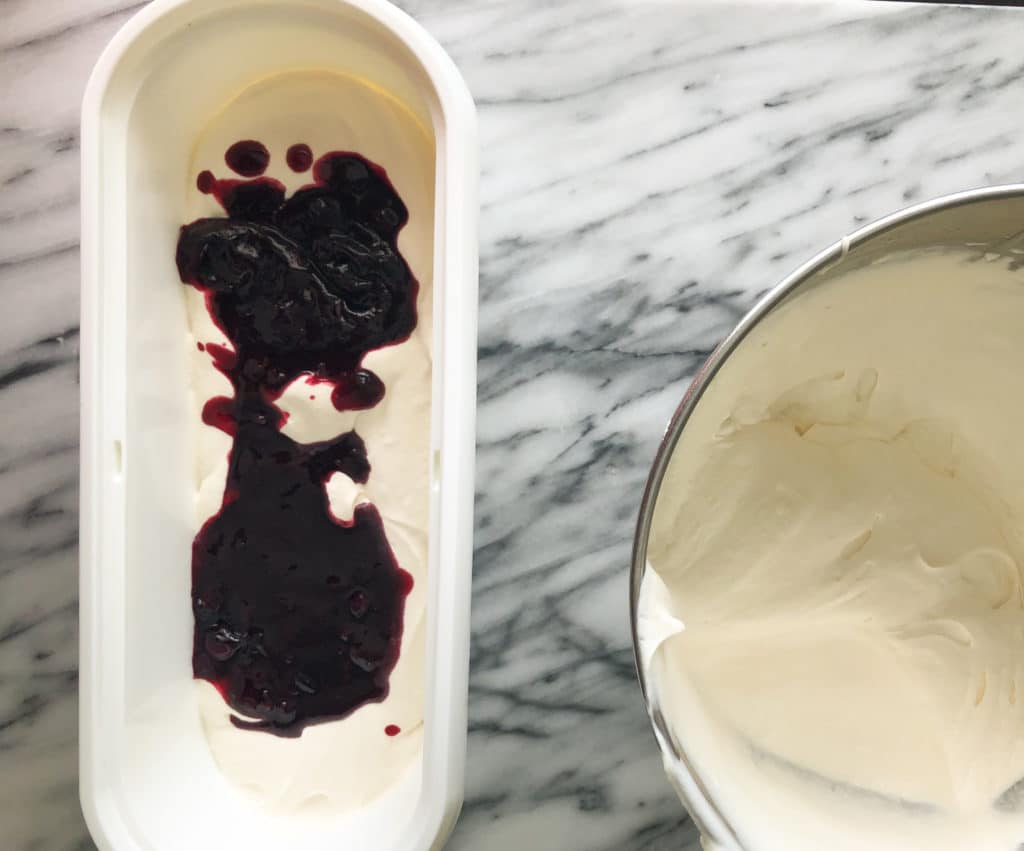
Step 4 – Repeat layers.
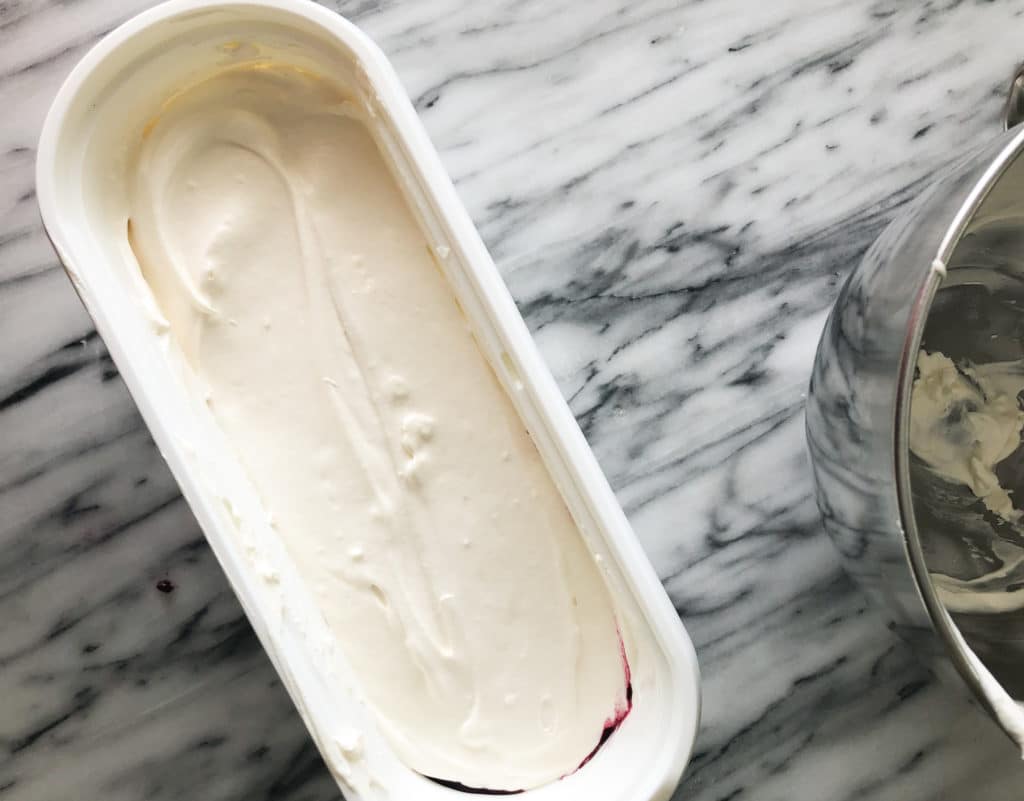
Step 5 – Gently swirl/fold in layers with a spatula for desired result and chill overnight (most recipes said 6 hours would do, but overnight worked best with our testing).
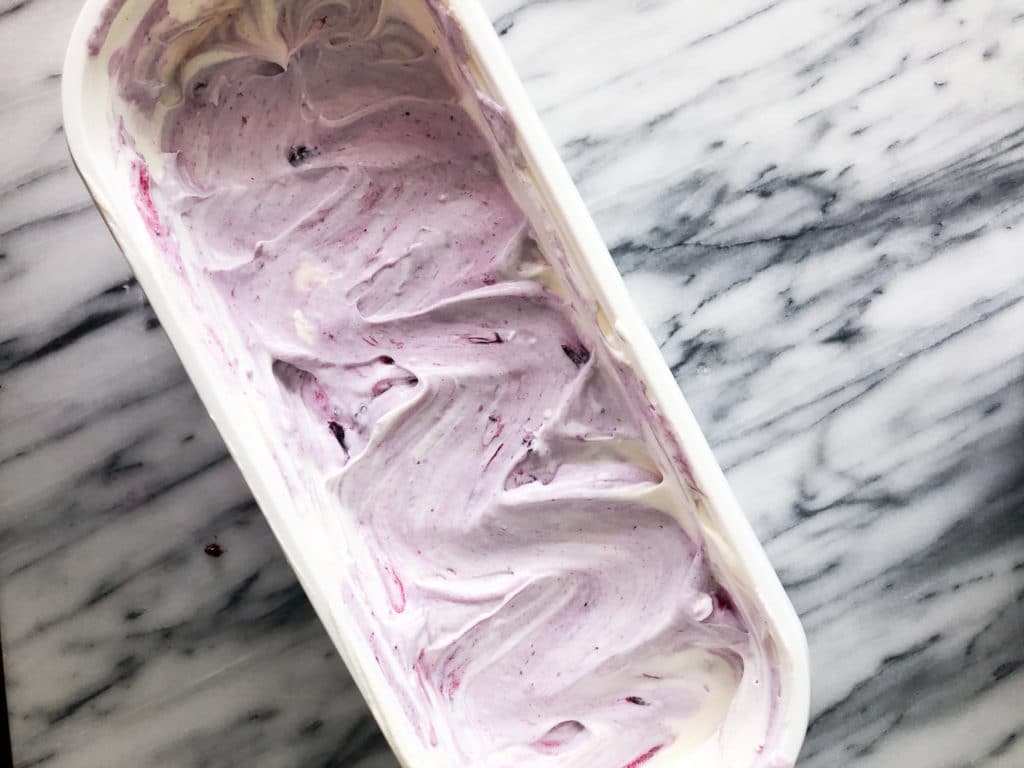
Tip: Get the kids involved! Our ice cream developers-in-training loved picking out the mix-ins and helping with all steps of the process (especially taste testing!).
Our pics for easy yet delicious no-churn recipes are:
- Dulce de Leche Oreo No-Churn Ice Cream
- No-churn Strawberry Ice Cream
- No-churn Chocolate Peanut Butter Cup Ice Cream
Fine Print: Homemade ice cream is best enjoyed within two weeks, but can last up to 3-4 months in your freezer.
